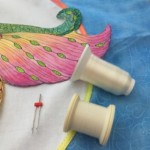
As the Zentangle butterfly was coming together, I realized I haven’t used my twin needle in a while and thought I would share some information and tips. This needle is 4.0mm wide with two needles that are the same size. (Twin needles also come with a single needle and wing needle, used mainly for heirloom sewing.) I’ve chosen to use invisible thread but only had one spool. You can conquer this problem by using an empty thread spool and winding thread from one spool to the other. This saves money and time running to the store.
When you’re working with such thin thread it helps to have a thinner bobbin thread, so I grabbed my embroidery bobbin thread and wound a bobbin for this project.
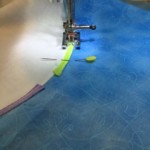
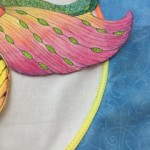
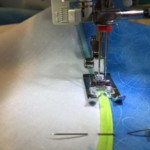
Since the bias tape is 1\4″ wide, I used the 4.0mm needle. It’s always a good idea to lay the needle against what your sewing so that you can gauge which needle you will need. This bias tape was colored with Derwent pencils to match the butterfly and cut to 1/2″ wide before using the bias tape maker. The bias tape, after it was made, also has 1/4″ wide fusible strips ironed on the back. It allows you to adhere the bias tape before sewing in to the fabric.
Quick tips for using twin needles:
NEVER use your Manual or Automatic needle threader, if you have them. (It won’t work and may actually mess up your threader.)
If you can’t bypass your machine’s automatic threader, take the needle out and THEN press the button. Put the needle back in and hand thread each needle.
Sew slowly and take you’re time.
Don’t turn while the needles are down, this can harm you needle and even your bobbin case. Gently pivot while the needle is up.
Always make a test piece first. This will save you from having to rip out later.
Looking forward to finishing this for the Charlotte Quilters Guild Show in March, 2018!


