Category: Sewing

July Classes

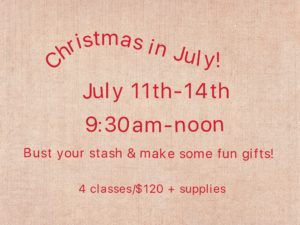
Christmas In July!

July 11th-14th 9:30am-noon
July 25th-28th 9:30-noon
Christmas will be here before you know it! Wouldn’t it be great to be ready? Use your fabric stash and make a bunch of fun gifts. Pot holders, luggage tags, table runners, snappy bags, coin purse, tote bags, hand towels, bathroom rugs OR make a larger project for one special person. Make a list, check it twice and dive in!!
$120/4days

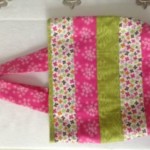
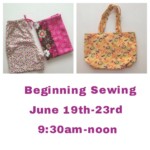
Bring your machine and learn to sew! This is a basic sewing class and assumes no previous experience. You will learn to use your machine, how to find and sew seam allowances, follow a pattern, sew straight and curved lines & buttonholes by making a pillowcase, shorts and tote bag.

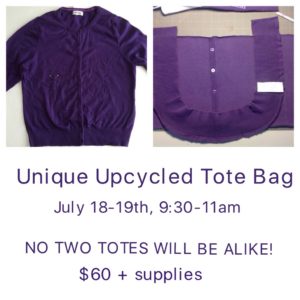
Do you have an old jacket or sweater laying around? Bring it in & turn it in to a tote! A couple of classes that will be tons of fun. Anything goes…leather jacket, suit jacket, sweater, etc… Use the pockets, buttons, zippers as design details when cutting out the tote. Everyone’s will be different.

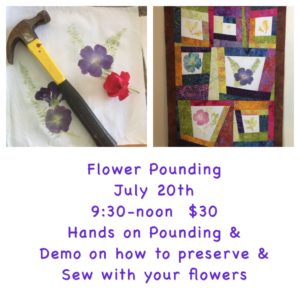
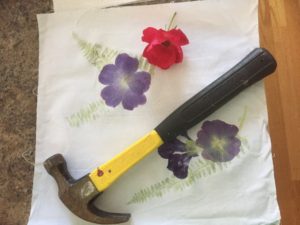
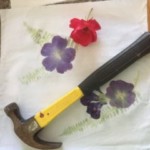
Ever wonder what colors are in those flowers if you pound them hard enough? Come and find out!! We will be pounding flowers on cotton fabric, learning about layouts and the best flowers & leaves for pounding. There will be a demo on how to preserve those pounding with our computers and scanners. All you need is a hammer and any flowers & leaves you want to try. Flowers and leaves will be provided also.

Kids Sewing Camp II
July 17th-21st
1-3:30pm $150 + supplies
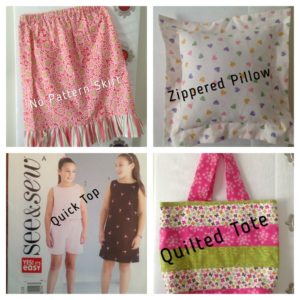
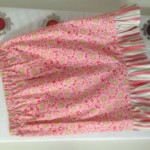
Bring Your Own Project OR make a summer top, skirt with a ruffle, zippered pillow & (if time) a quilted tote. You will learn about facings, ruffles, casings, zippers & quilting with your machine.
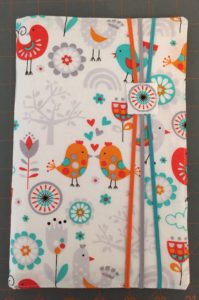
Project Organizer with Handmade Note Pad
August 2nd&3rd
$60 + supplies or $10 kit using the sample fabrics

Are you looking for a way to keep all those projects organized? Join us for the Project Organizer class.
Bring all your project ideas and shopping notes together! Learn how to make your own notepads and an organizer to keep your project ideas together. Get ready for special occasions and the holidays!! Plus an extra project if we have time.

It’s hard to believe that the year is half over and we’re talking about Christmas gifts but it’ll be here before you know it. Take time now to sew and beat the heat too!

Happy Sewing!
Flower Pounding

Ever wonder what colors are in those flowers if you pound on them hard enough??!!  Come and find out!  We will be pounding flowers on cotton fabric, learning about layouts and the best flowers and leaves for pounding.  After we’ve gotten that out of our system.  There will be a demonstration on how to preserve those poundings with our computers and printers.  The only thing you’ll need for this class is a hammer!!

Kids Sewing Camp II

Kids Sewing Camp II enables you to bring your own project!!  OR make a summer top, a skirt with a ruffle, a zippered pillow and (if time allows) a quilted bag.  With these projects you will learn about facings, ruffles, casings, zippers and quilting layers with your machine.

June 26th-30th   9:30-noon

Call today to save your spot!!

Goin’ to the Beach

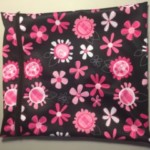
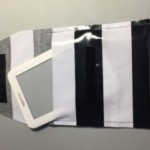
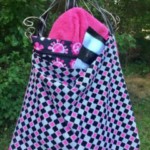
Are you looking forward to spending time at the beach and/or pool this summer?  Enjoy your day at the beach or poolside with these fun projects!  A beach towel and bag sewn together that slides onto the back of your chair.  A wet bag for your suit and fun little cover ups to protects your book and devices from splashes.  Learn how to work with PUL fabric and laminate with these fun, quick projects!

June 21st-22nd   1-3:30pm

CALL TODAY AND SAVE A SPOT!

Come Join in the Fun!!

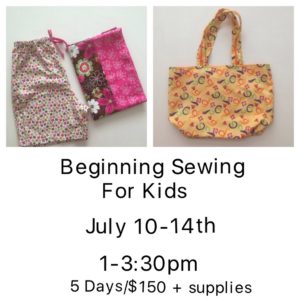
Beginning Sewing for Kids

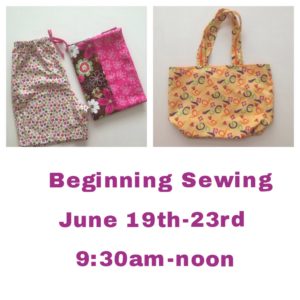
Beginning Sewing for Kids is a great starter class that includes:

Learning about your machine:  Threading, winding a bobbin, find and mark seam allowances, make a buttonhole, etc.

Basic sewing terms, learn about fabrics & patterns, different threads and needles

Sew samples stitches for YOUR machine

Sew a pillowcase: learning to sew a straight line and a finishing stitch, learn about fabric layout, using a 1/4″ foot if you have one.

Sew pajama shorts: pattern layout with straight of grain, learning to sew a curve, sew buttonholes, elastic, hems & casings

Tote Bag:  Work with lining, handles, sewing box bottoms & topstitching.

  This class will use Simplicity pattern #1520 for the shorts

Enjoy 5 days of sewing fun and have lots to show for it!!

June Classes

June is going to be an awesome sewing month!  It’s a great way to beat the heat and learn new skills or even polish up ones we haven’t used in a while.

We’re starting the month with:

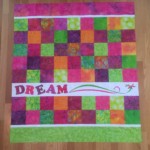
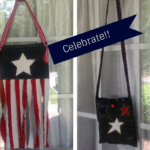
Beginning Sewing (there’s a couple offered this month); Learn Your Machine; Emoji Pillow & Keychain; Time to Sew; Celebrate the 4th of July; Dream Quilt; Goin’ to the Beach; Kids Sewing Camp II; Flower Pounding; Pick Your Project; Catch Up Day

Click on the Calendar to find the dates & descriptions and call 704-957-2805 or email textilesbytawny@yahoo.com to save your spot!


Summer Classes!

Summer Classes are right around the corner.  Beginning Sewing and Sewing II along with more fun projects throughout the summer.  Celebrate 4th of July, Time to Sew, Dream Quilt, Going to the Beach, Flower Pounding, Christmas in July and so much more.  Check out the calendar and your inbox for all the dates and descriptions.

Organize UFO’s from the Holidays and 2016

October Wall HangingChallenge Quilt


Did you make everything on your sewing list this past year?  Or was it close? Or no where near where you wanted to be?

Every year tends to be different for me but this year I’m starting with a list!  I’ve decided to make a gift a month.  But more importantly I’ve decided to write down each project!!  Even if I’m unable to complete everything I will be a little further ahead come October (which is when I usually think of gifts and the upcoming quilt show).  This will also enable me to pull out everything I need for each project.  So often we find ourselves running to the fabric store for the ONE thing and coming out with ANOTHER project.  This way I’ll have a list and be able ‘splurge’ on the next upcoming project needs.

So grab a piece of paper and dream of what you want to make this year!  Remember January is the time to start on that awesome, million pattern piece project NOT in November. Or the heirloom quilt for your child, friend or relative.

Breakdown Sewing Tasks to Finish those Christmas Presents

Do you like to sew for your family and friends?  And who doesn’t!  Have you started making your gift list?  Are your projects ambitious or simple?  HINT:  It may be too late to start that Heirloom Quilt you’ve been thinking about all year, but that doesn’t mean that you can’t make anything and have a great time doing it!

You are a wonderful group of creative people with great skills!  Use those skills to sew something quick & fun!  Check out the list below.

A FUN LIST OF QUICK PROJECTS FOR GIFTS

  • Snappy Bags with clips for keys
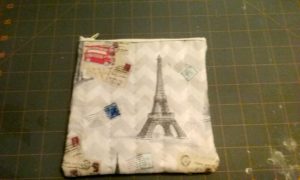
  • Zippered Pouches
  • Pillowcases
  • Wet Bags
  • Pot holders
  • Kitchen towels
  • Wine Bags
  • Message Cup Cozies
  • Zipper Box Pouches
  • Key Chains
  • Luggage Tags

IMG_1788

This is a short list of some of the easy, quick projects you can make in a couple hours.  And if you decide to make the same gift for several people it will cut down on your prep time.  Layer different fabrics and cut out the same project.

You can also use the bags/pouches and pillowcases as ‘wrapping’ for another gift.  Gift cards/toiletries will fit in the smaller items and you can use the pillowcases for larger gifts.  For the price of fancy gift wrap and bows you can have 2 gifts!!

I love 10/20/30 minute sewing.  I first saw this in a Nancy Ziemann book years ago and have tried to adopt that with my sewing also.

  • 10 Minutes to Make a List of Recipients
  • 20 Minutes to Gather Patterns & Supplies (lots of these gift ideas use small amts of fabrics) I use gallon ziplock bags to separate the projects.  That way I can ‘grab & sew’.
  • 30 Minutes to Cut out the First Project

Start to think of your sewing as small chunks of time.  In this busy season we can usually eek out a bit of time here and there but it’s a lot harder to think of having a whole evening or day to sew.  It’s alway easiest to have that list & bags to go back to.

If you’re using machine embroidery you can always be prepping something else as that machine embroiders.  I know that it’s hard not to watch it work!   And if you don’t have an embroidery machine?, there’s always appliqué.  I love Wonder Under and my Word program.  Just remember to mirror image any letters so they come out correctly.  BTW this usually only happens once!

Happy Stitching and please share the projects you were able to complete!

Never Skip Measuring Before you Sew!

img_2049
A little princess for Halloween

When almost done becomes ARGHHHHH!  No matter how long you have been sewing, sometimes we miss (skip) the most crucial step, MEASURING!  Especially when we sew for children!

I found a wonderful tutorial online for a Custom Fit Princess Dress, by Sunset Family Living that I could use & change up for my granddaughter’s Halloween costume.  Since I wasn’t going to see her for a few days and had a dress that I made her 6 months ago I figured I was good to go.  I also wanted a bit of ease so that she could use this for ‘dress up’ after Halloween.

She’s a 3T and the pattern was for a 4 year old.  How could anything go wrong?  Well….since it’s not a standard pattern and I guessed at some of the measurements, you can imagine.  I will say that it just fit her and would have worked for the Halloween costume but not for dress up.  Luckily I tried the top on her before attaching the skirt!  The moral of the story is always MEASURE!  But don’t feel bad about first top, I’ll show you what I’m doing with it next week.  Hint:  A little ‘slashing’ never hurt anyone and netting helps.  LOL

img_2029


img_2030


img_2032Changes I made:

  • 4″ was added to the original measurements across and 1″ in length and then made changes to the top:
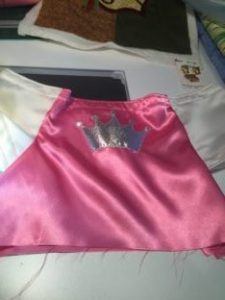
  • Added a Silver Lame Crown with Wonder Under and zig zagged the edges instead of the cross pieces on the bodice.  I lowered the crown on the second bodice.
  •  Adjustable elastic with ties at the waist, this is the same thing I do for pajama bottoms!  You will need to make the band one piece like she says you can.  The tut has 2 separate pieces which wouldn’t allow for the adjustable elastic.
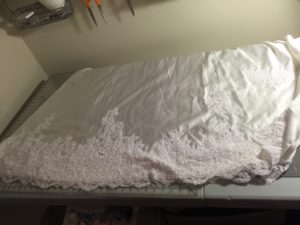
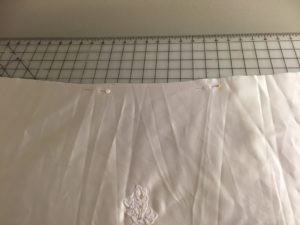
  • The skirt is 2 layers because I used the rest of a bridal dress for the bottom (we love the bling and leftover bridal dress fabric) and the top layer was made like the first part of the skirt, just shorter.  I  gathered them together after making each separately.

I’m so much happier with this top than the original.  I know that it’s big on her but I’m happy with the outcome!  She will be able to get into this on her own, which is SO important for a 3 year old and her mommy and it will fit her for some time to come!  I’m working on a “Dress Up” box for Christmas and this will be a wonderful addition.  We’ve already been to the grocery store to show it off!

Do you have your Halloween costume ready?  For yourself or you favorite trick or treater?  If so, please send a pic and I’ll add it to the comments section!