Category: Quilting

Organize UFO’s from the Holidays and 2016

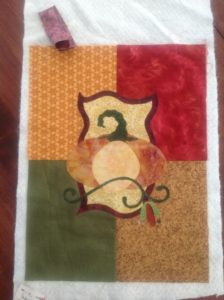
October Wall HangingChallenge Quilt


Did you make everything on your sewing list this past year?  Or was it close? Or no where near where you wanted to be?

Every year tends to be different for me but this year I’m starting with a list!  I’ve decided to make a gift a month.  But more importantly I’ve decided to write down each project!!  Even if I’m unable to complete everything I will be a little further ahead come October (which is when I usually think of gifts and the upcoming quilt show).  This will also enable me to pull out everything I need for each project.  So often we find ourselves running to the fabric store for the ONE thing and coming out with ANOTHER project.  This way I’ll have a list and be able ‘splurge’ on the next upcoming project needs.

So grab a piece of paper and dream of what you want to make this year!  Remember January is the time to start on that awesome, million pattern piece project NOT in November. Or the heirloom quilt for your child, friend or relative.
DREAM Quilt Class starts in 2 weeks!

DREAM Quilt – March 29th-31st – 9:00-11:30am
Group Lesson
55″ Wide x 63″ Long Lap Quilt Top
Do you ever wish that someone else would cut and iron for you??!!  This is the class you’ve been looking for.  With a quick refresher on using the 1/4″ foot with guide to start the first day and you’re off!!  This class is limited to 4 students.
16 Beautiful high quality Batiks and Kona cotton make up this kit!  The class will also include Wonder Under for the letters, swooshes, dots and dragonfly.  You will have everything you need to finish this quilt top and almost 8 hours to work on it.
THIS QUILT TOP IS COMPLETELY CUT AND THE APPLIQUES ARE PREPARED WITH WONDER UNDER AND CUT FOR THE CLASS!  There will be no need for measuring and cutting for this top!  The pattern is included so that you can recreate it later.
It is a lap  sized quilt top that can be quilted on a home machine or sent out to a longarm quilter.
The class fee is $90 for 3 days and $40 kit fee for the top.
The kit includes:  Pattern
                              63 batik squares
                               2 batik borders
                               2 Kona cotton narrow sashings
                               1 DREAM sashing (including letters, swooshes, dots and dragonfly with wonder under)
                               1 spool of piecing thread
                               Matching thread for applique and machine embroidery bobbin thread
      EVERYTHING IS PRECUT and PREPPED!!
As always….you will need a sewing machine in good working order, manual, foot control….1/4″ foot with a guide, size 70/10 Microtex (Sharp) sewing machine needle, small pair of scissors, straight pins, 2 empty bobbins and a flat sheet that you can use for all 3 days.  The sheet will be used to tranport your quilt.
Join the fun and call today to save your spot!!
Keep stitching!!

Dream Quilt

Join us in making a beautiful batik lap quilt top! The Dream Quilt top will be March 29th-31st in the mornings.

All the cutting has been done for you!  The kit is ready to sew and I will be doing the ironing if you choose.  This is a fun project where all you have to worry about is the sewing and no prepping or shopping.  If you want to change the pink squares, DREAM and one of the swooshes to blue you need to let me know at least 1week before the start of class!!

More info will follow!  Stay tuned!

Check out all class availability in the calendar.  Have a great day and keep stitching!

Time to Sew! June 18-19th

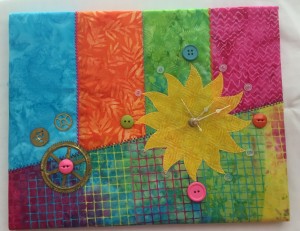
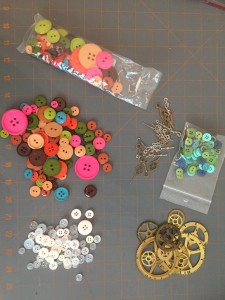
Use your machine’s decorative stitches to create a background for your very own wall clock!  The first day will consist of embellishing the fabrics and appliqué the sun for the clock hands.  the second day will finish up the sewing and attaching the fabric and clock parts to the frame.  Everything will be included in the kit (frame, fabric, batting, buttons, gears, etc) except the thread.  Class + kit fee.  There will be a bunch of buttons to choose from and you are more than welcome to bring another fabric choice.

Call today to save your spot!

IMG_3601IMG_3595

Save Your Batting

IMG_1234IMG_1235
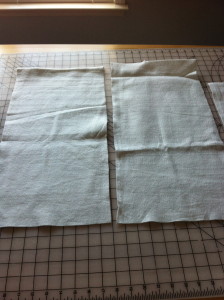
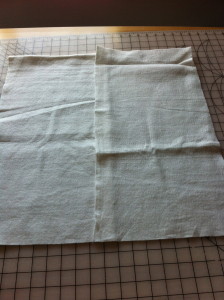
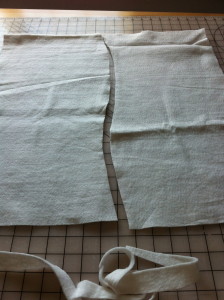
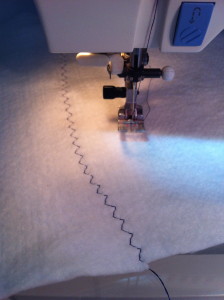
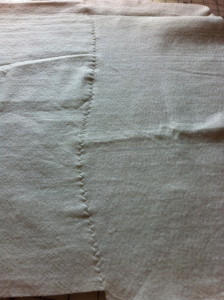
Saving pieces of batting that can be made into a larger piece is a great way to save some sewing $. (More for fabric!). The pics show how to layer the edges, cut the overlapped edges in a smooth, gradual curve, sew with a three step zig zag and you’re good to go!  A wonderful way to have pieces for wall hangings and small projects.
IMG_1236IMG_1244IMG_1237

Fabric Dyeing in the Heat!

This is my second class in fabric dyeing with Deb Harwell

.  It’s a wonderful art but the heat was in the 90’s!  Definitely a couple of hot days, but I’m going back next weekend because I had such a great time.  Lots of water and Gatorade was needed.

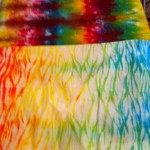
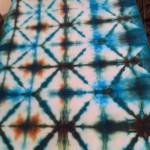
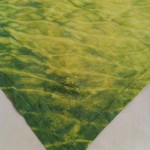
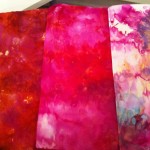
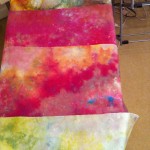
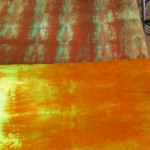
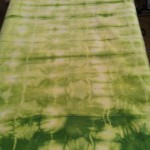
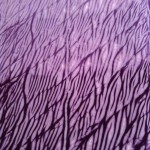
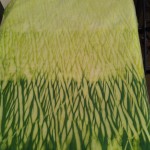
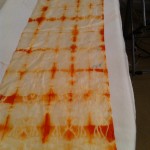
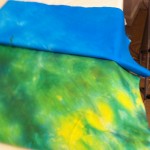
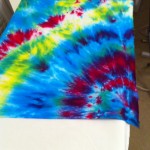
We learned how to do Shibori pole dyeing, value to value gradation, parfait, tray and my favorite, ice dyeing. After opening all the pieces, I’ve decided that I really like the direct dyeing best of all.  I’ve already been to Michaels to pick up beads and findings to use with the the parfait dyeing set (purples).  For one of the ice dyeing sets I found glass beads and a heart that I picked up in Asheville at the Southeastern Animal Fiber Fair last fall.  The dyed wools are really to die for there!!  We saw a lady with an angora bunny in her lap, spinning directly from the animal.  That’s a picture I wish I had!  The show is in October this year.  Follow the link for more information.  http://www.saffsite.org/

I hope to have a bag made by the Charlotte Quilt Guild http://charlottequiltersguild.org/ meeting this Wednesday.  Will post if I make it!  I’m going to start with the purples, since I have a few ideas commited to paper already!

Recycled Jean Quilt Rows

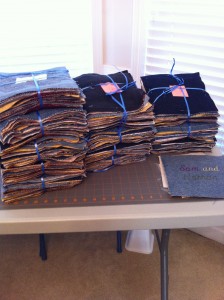
Jean Pile Divided

After collecting all of our old jeans, I embroidered them with my kids activities throughout the years.  Everything from preschool thru high school.  It’s been a lot of fun remembering all the different activities and sports throughout the years.  It’s a wonder that we’re not exhausted from all the driving, chaperoning and running around!

I laid out all the squares on my living room floor and made a pattern with the embroidered blocks and filled in with the extra plain blocks.  Then they were stacked into rows.  Each square has a jean square top, batting center and flannel on the back. (I used 2 different flannels)  The batting was cut 1/2″ smaller all around.  The blank squares were embroidered with designs from a quilt software pack from Anita Goodesign. Quilt Feathers & Quilter’s Paradise.  http://www.anitagoodesignonline.com/  The squares with the activities were freehand quilted with stars and hearts.

Save Your Back!!

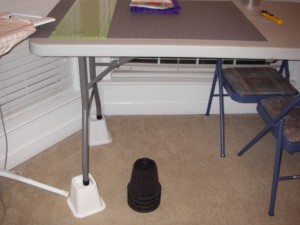
How many times have you been cutting and then tried to stand upright?  The feeling can be overwhelming.  You realize that your back feels like a pretzel and have to stretch it out.  And worse than that, you DON’T want to lean over again and keep cutting.  We all know it’s important to stretch and move at least every 15 minutes but even that isn’t always enough.  The best thing that I have found are bed risers! They’re light enough to push under your table legs as you hold up each side and sturdy enough to support the table and any weight you may put on them.  My last batch stated that they would hold up to 500 lbs.  Since I have classes at the house, it’s important to be able to lift up the tables if everyone is cutting.  I just picked up a set at Big Lots for $5.  Target and Bed, Bath and Beyond also sell them. So far, I’ve seen them in only black and white.  They’ve also been under my dining room table and been very stable.  This time of year is wonderful to pick them up, since so many college students have them on their list.